When using tethering, the EV3 brick will act as a network server. This means there is little to no configuration that needs to be done on your host computer which makes it easy to setup and use. However, you cannot access the Internet from your EV3 using tethering. If you want to be able to update packages or do anything else that requires an Internet connection, you will need to set up another connection instead of or in addition to a tethering connection.
These instructions are for brickman v0.7.0. If you are using an older version, please upgrade.
-
-
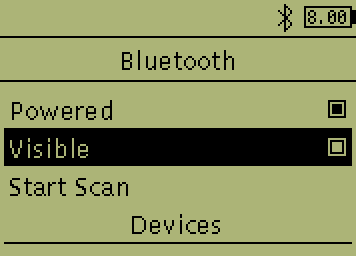
On the EV3, first verify that Bluetooth is powered on. In brickman, open the Wireless and Networks menu and select Bluetooth. Make sure the Powered checkbox is checked. The Bluetooth icon next to the battery in the status bar also indicates that Bluetooth is powered on.
-
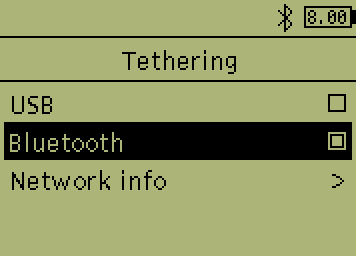
Go back to Wireless and Networks and select Tethering. Enable tethering via Bluetooth by checking the box next to Bluetooth.
-
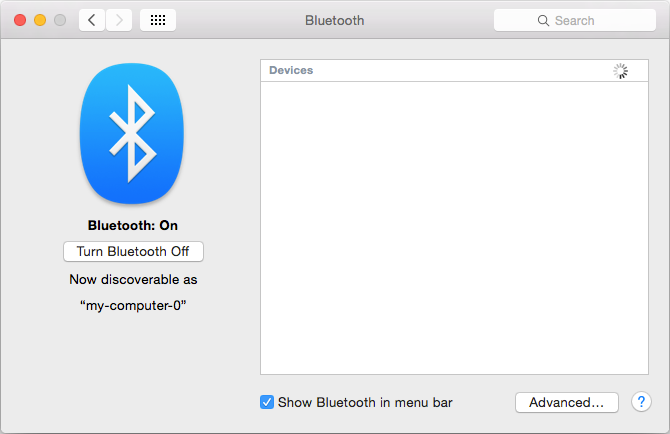
On your host computer, open System Preferences and go to Bluetooth. This will make your host computer discoverable.
-
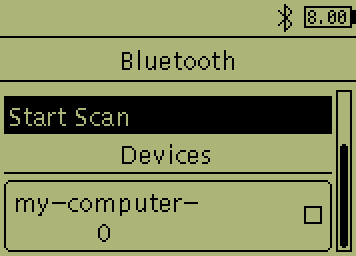
On the EV3, go back to Wireless and Networks and select Bluetooth again, then select Start Scan. It should find your computer.
-
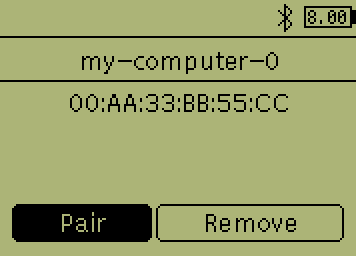
Select your computer from the menu and then select the Pair button.
If you have already paired your EV3 with your host computer, you will need to select Remove and then re-pair in order for the host computer to see the new tethering network connection.
-
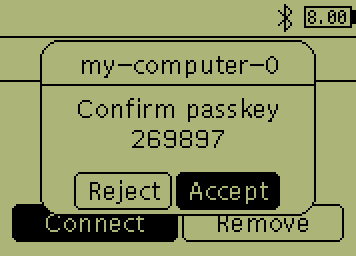
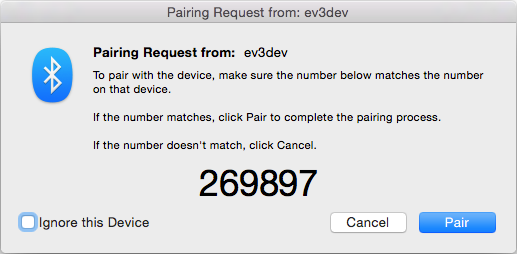
Confirm the passkey on both devices when requested.
-
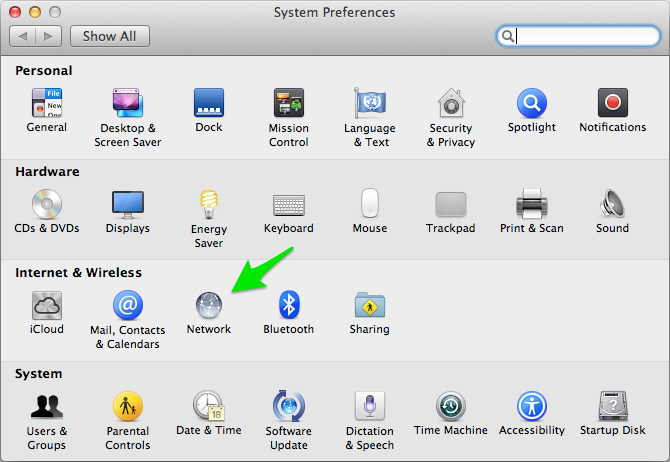
On your Mac, open up System Preferences and select Network.
-
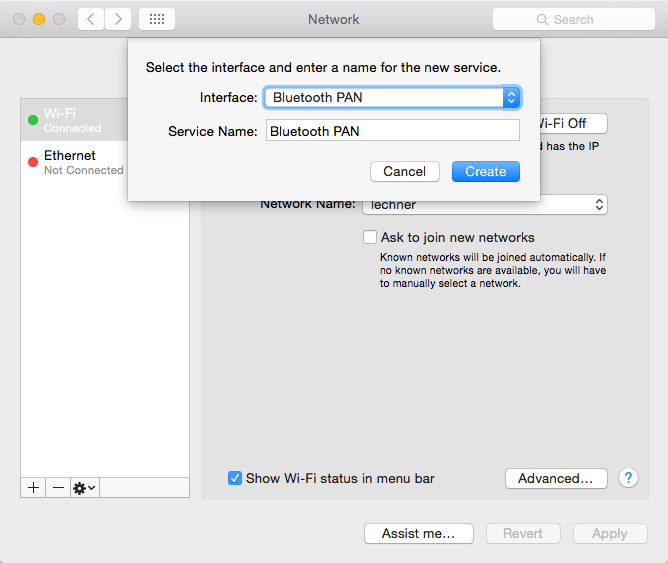
If you do not already have a Bluetooth PAN device, click on the
+icon in the lower left area to add a new network device. You’ll need to select Bluetooth PAN in the drop down box. Click Create when you are done. -
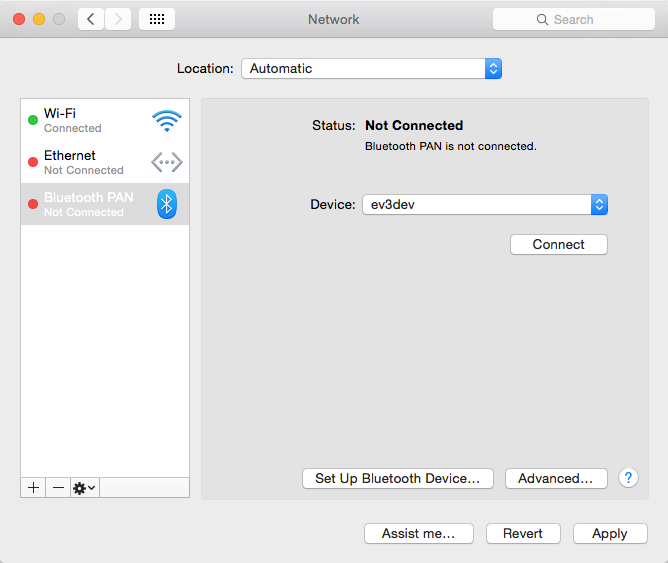
Click Apply first to save your changes, then select your EV3 next to Device: and click Connect.
-
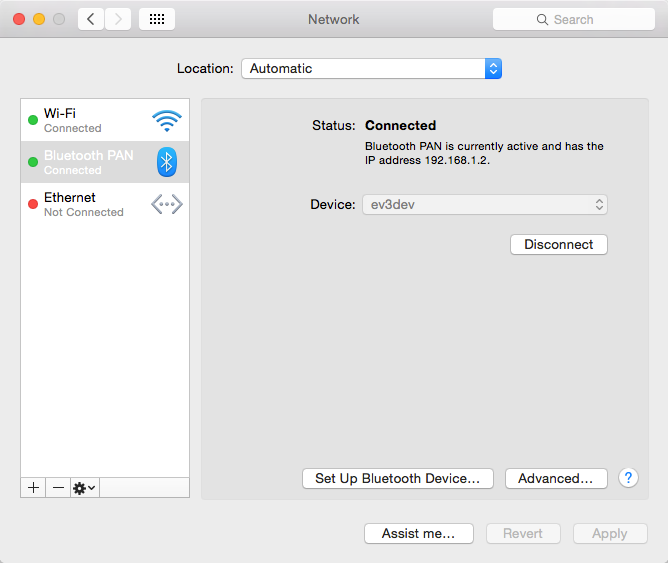
Here, you can see that the EV3 assigned us the address 192.168.1.2. The last two numbers may be different for you. The IP address of your EV3 will be the same as the number you see here with the last number replaced by 1. So, in the case, the EV3 is at 192.168.1.1.
-
-
HELP WANTED! See issue #287.
-
-
HELP WANTED! See issue #287.
This is mostly figured out for Windows 8 here. Windows 7 looks a bit different, so it needs its own instructions.
-
HELP WANTED! See issue #287.
This is mostly figured out here. We just need someone to make it pretty.
-
Now that you have a network connection, you should connect to your EV3 with SSH if you haven’t done so already.
